
Welcome to the simpler, easier version of pie. “Easier than pie,” if you please. That phrase never made sense to me to describe something easy, because a lot of things are easier than pie. A lot. Including this recipe for summer berry galette, which combines juicy berries with a flaky, buttery crust to make one amazing dessert.
I grew up in a pie-eating household. At one point as kids, we would request my mom’s apple pie instead of a birthday cake. So yeah. It was a serious relationship. Since I do not possess my mom’s extraordinary pie skills (yet), I love to make easy galettes. Everything about summer goes with galettes as well – it’s the perfect time to try making one. Any and all produce can be used. You can focus on sweet, savory, anything: berries, peaches, plums, tomato, zucchini, tomato AND zucchini, just go crazy.
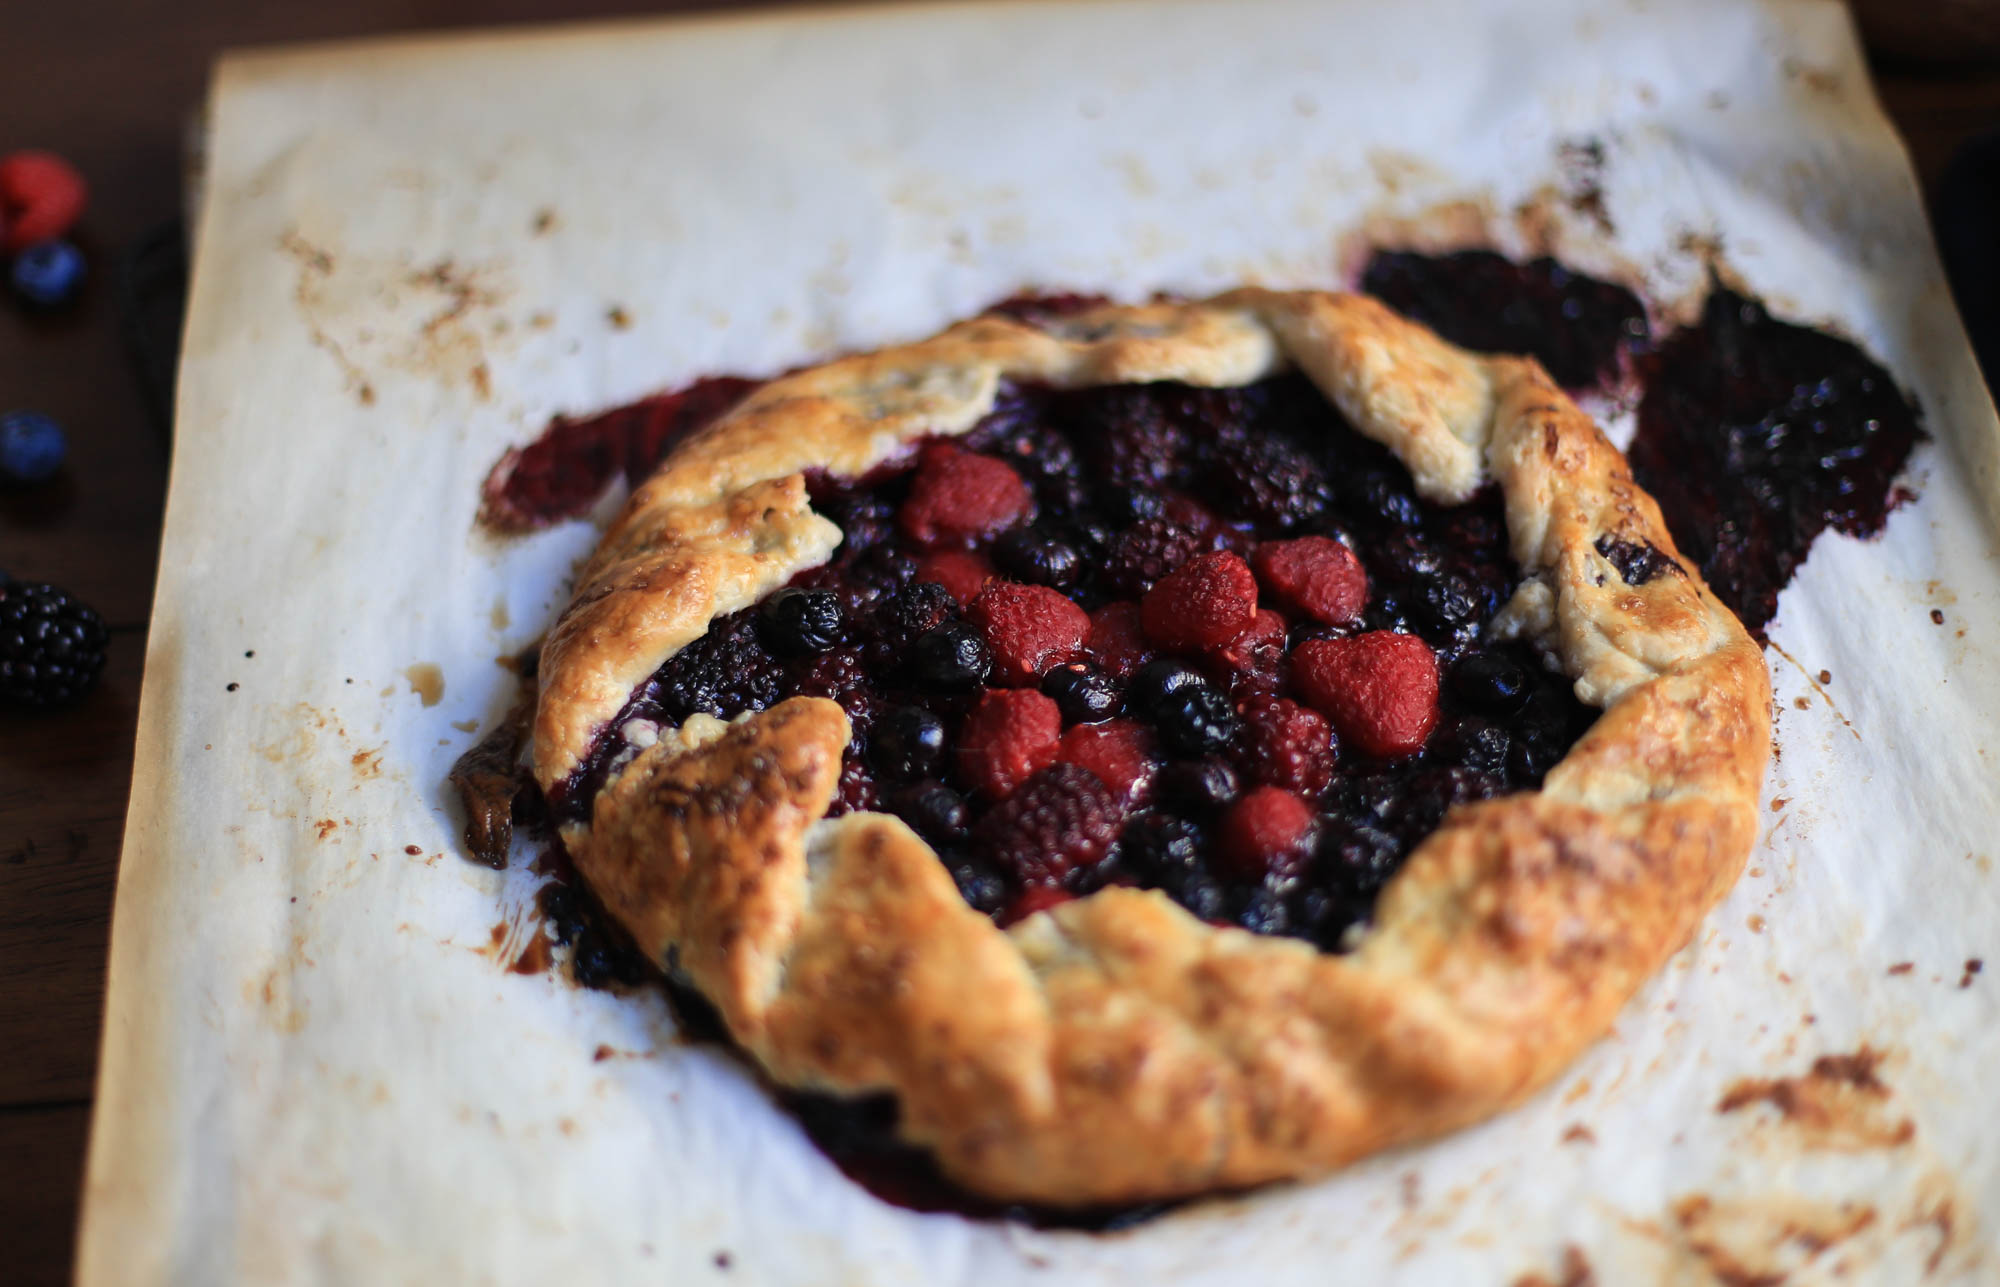
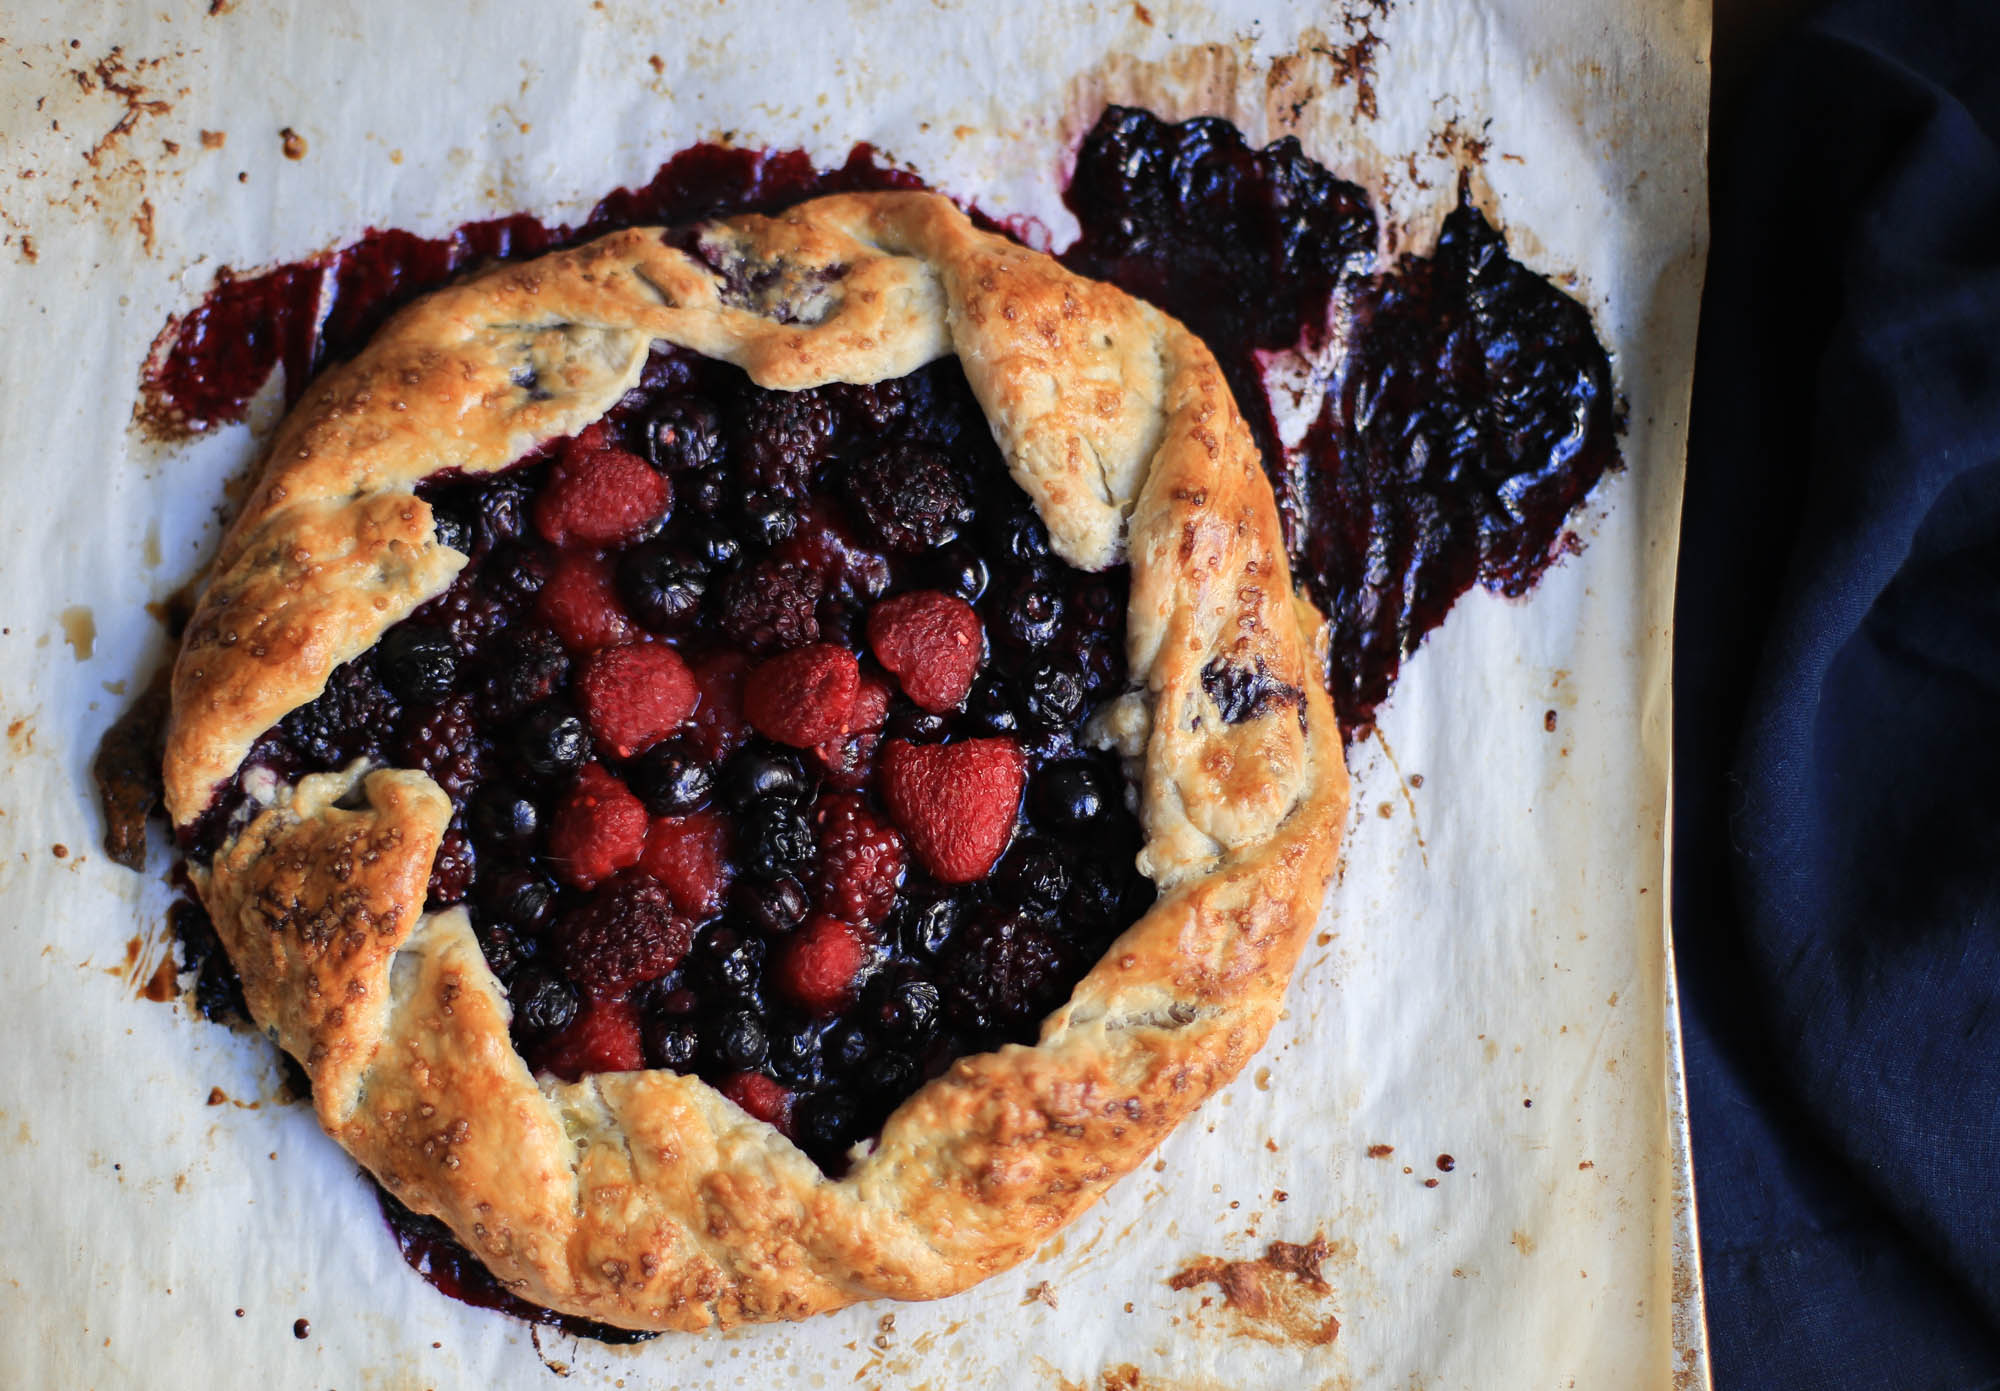
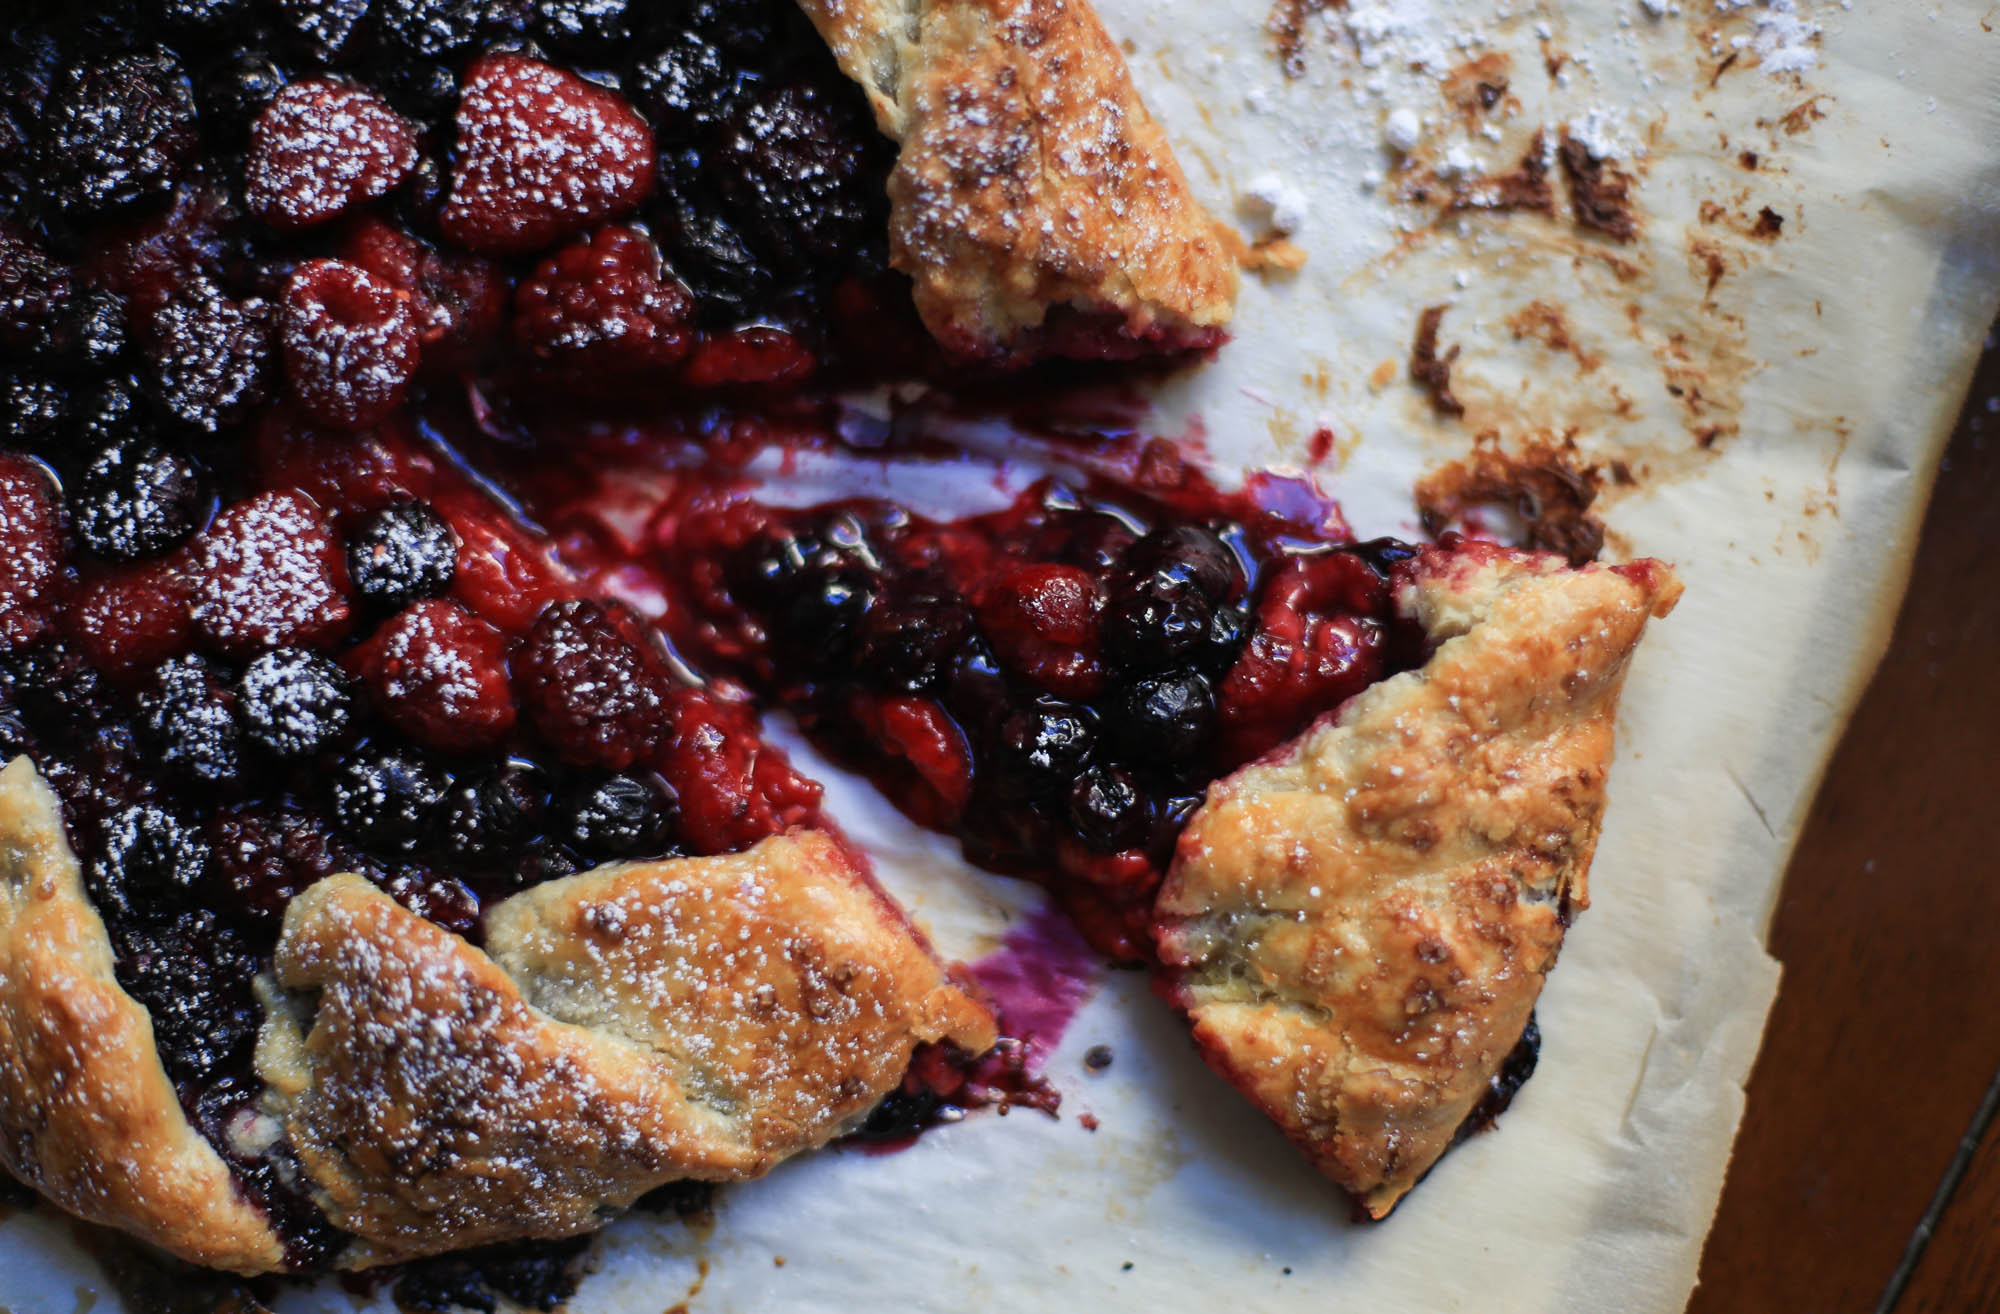
I prefer the freeform assembly of a galette, with its more forgiving rustic look, versus that of a pie crust. The crust takes a little effort, but the filling is easy. I used blueberries, blackberries, and raspberries – feel free to mix things up with different fillings. Don’t pile the filling sky-high though; keep everything in a flat, compact circle.
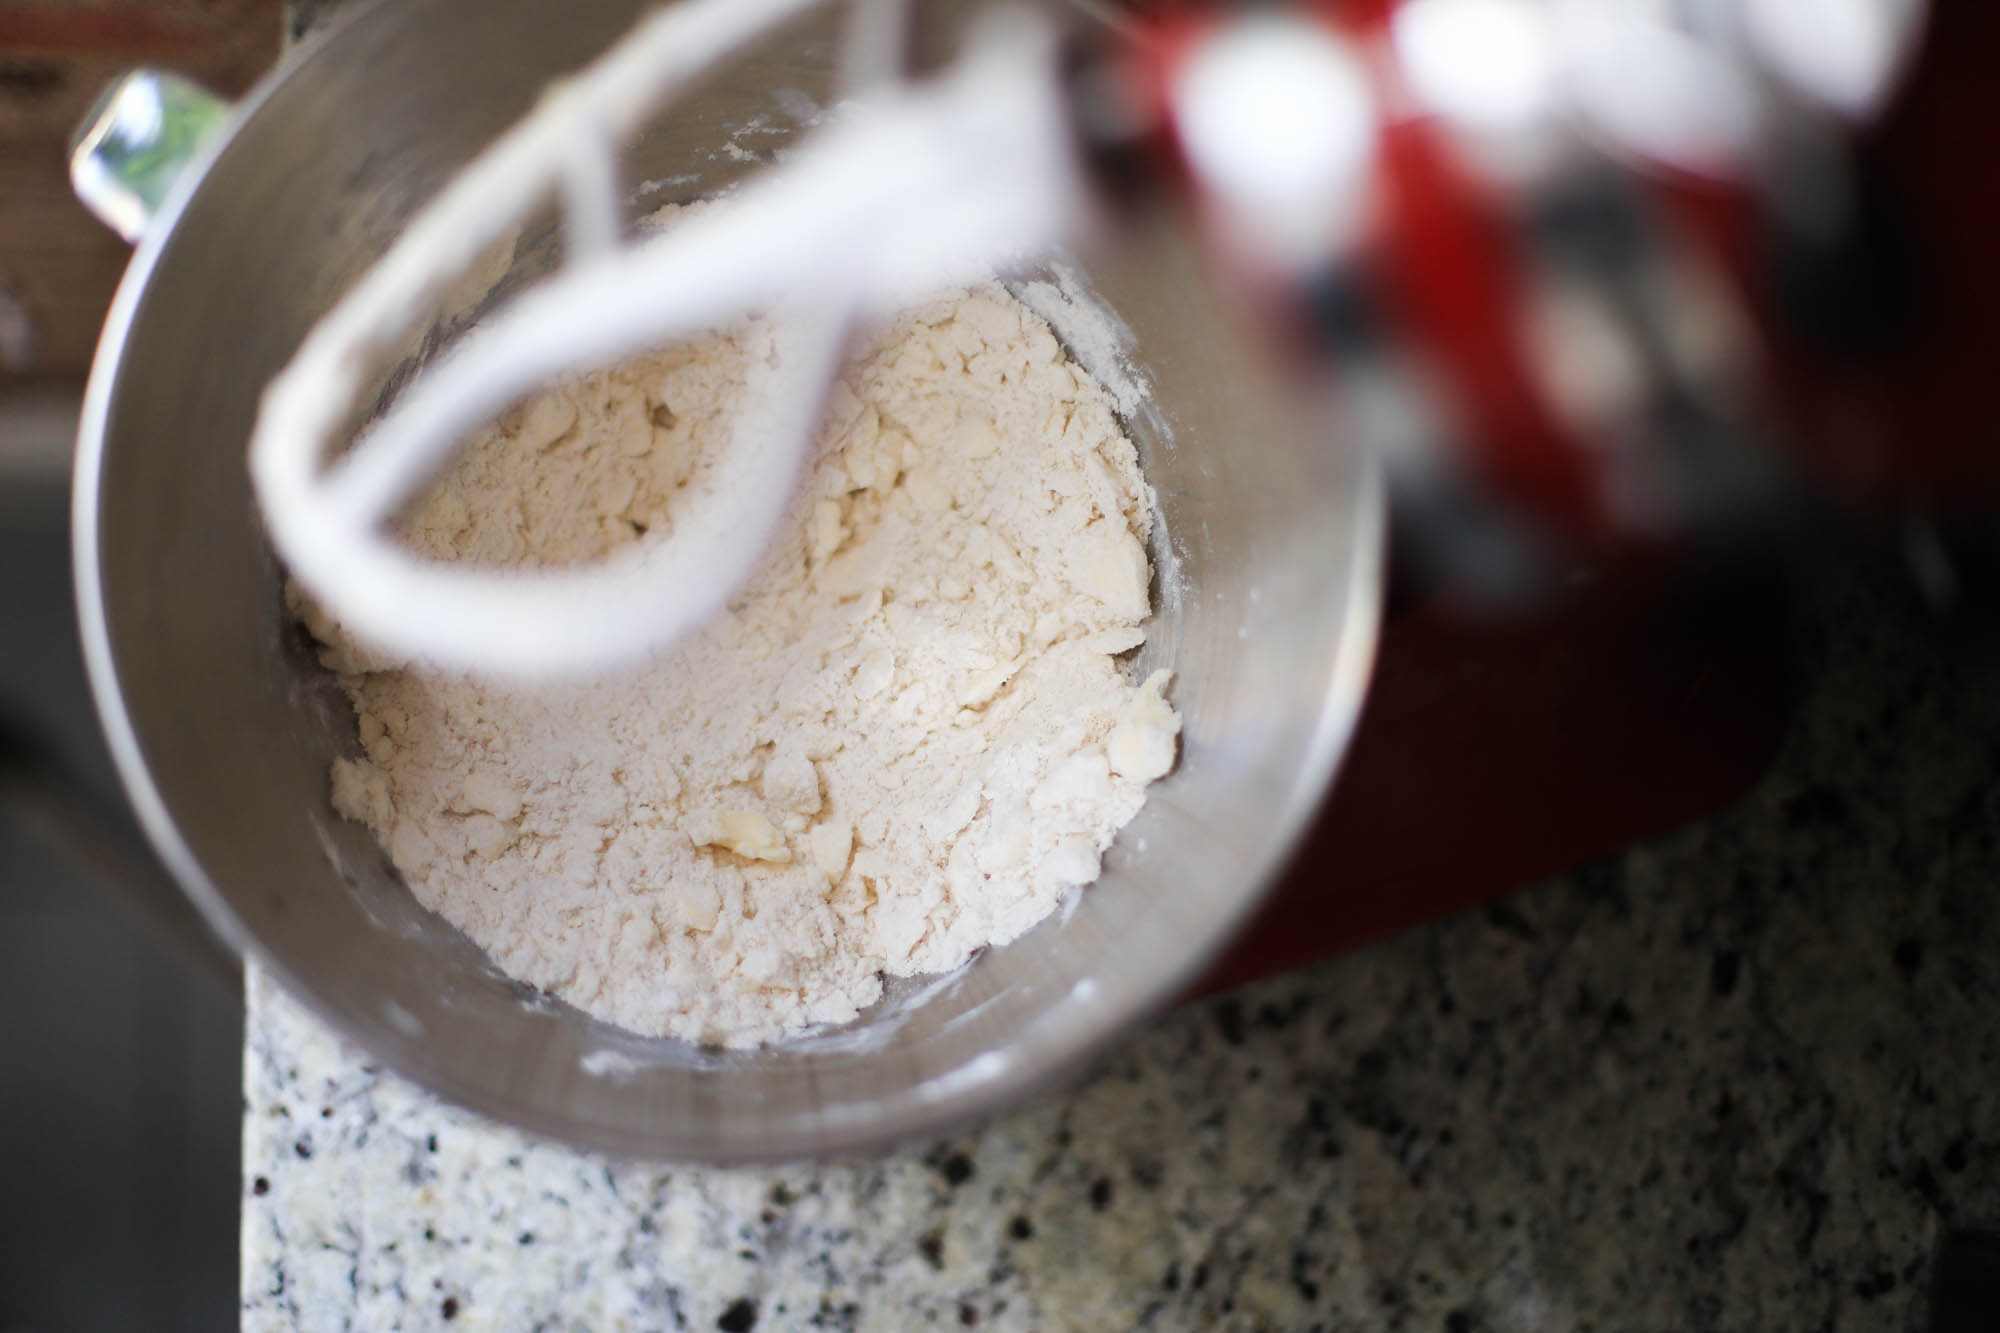
There are a few tricks for making the crust. Mainly, you want to keep the butter cold. I’ve learned a bit from devotedly watching The Great British Baking Show every week. (Please PLEASE watch it if you like cooking shows or Brits at all. And then call me to discuss.) The crust won’t be as flaky if the butter is too warm. So refrigerate the dough in a ball for at least an hour. I refrigerated my dough overnight, and then when I had people over the next day, all I had to do was assemble it. Additionally, if you use a pastry scraper–rather than your hands–to move the dough around the butter won’t melt as fast.
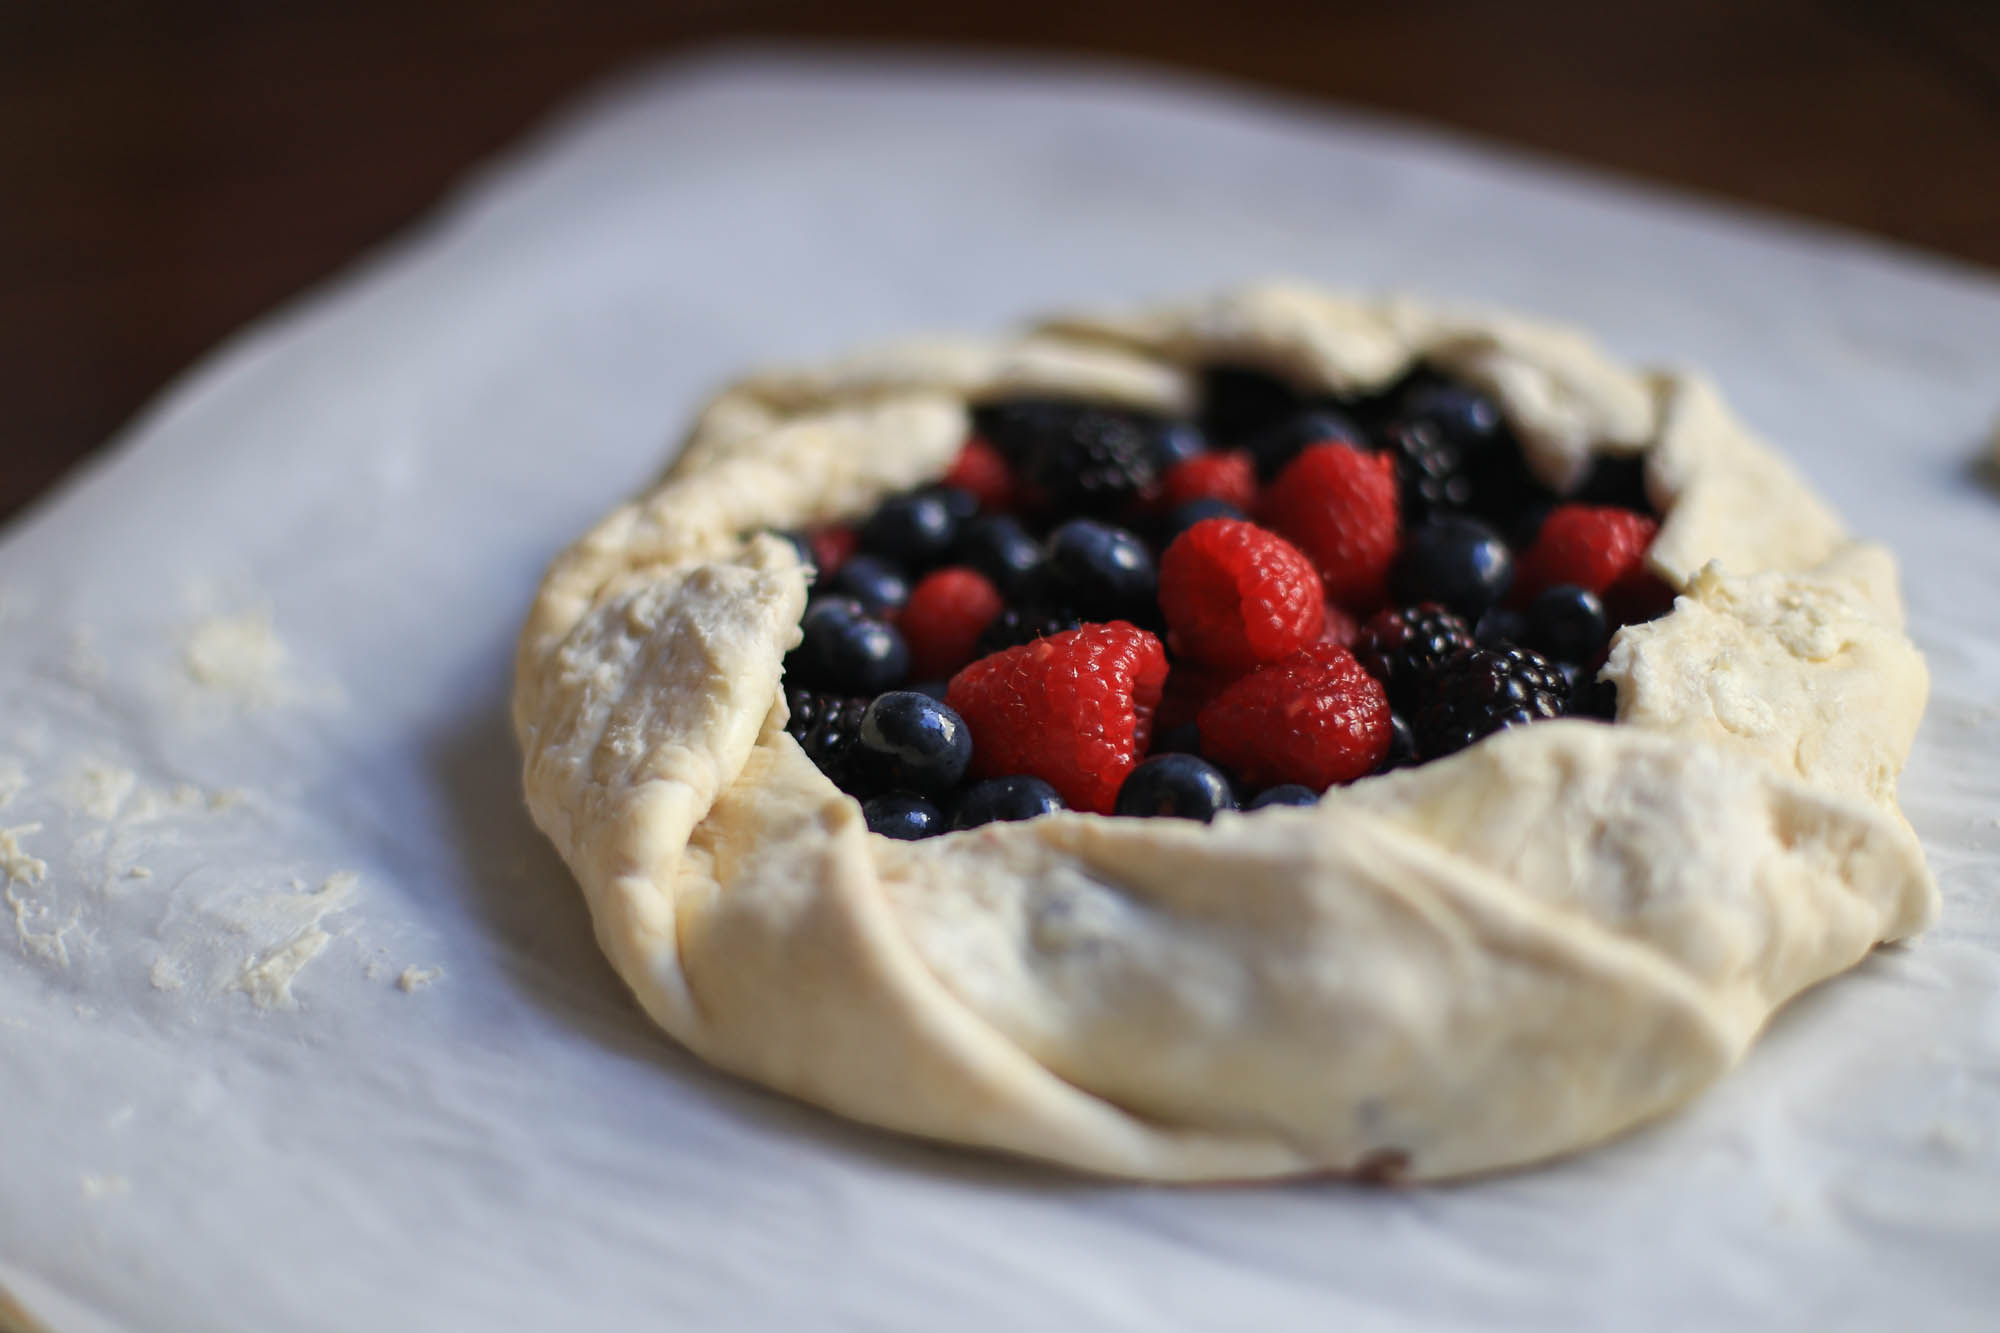
When you are ready to assemble, sprinkle a little flour on the counter and roll out the chilled dough. You are looking for an even thickness around the circle, about 1/8-inch thick. If the dough seems too sticky, transfer it back into the refrigerator for a few minutes. This can happen especially when you’re working in a humid kitchen–which is my kitchen the entire month of August in DC.
Transfer your rolled circle to a piece of parchment paper for baking, and then slide it onto a baking sheet. The beauty of galette is that the sides don’t have to be straight and the ends don’t have to be even. Take a break from that OCD. The major downfall of this recipe, on the other hand, is that you have to wait almost an hour to bake the galette, while in the meantime your kitchen will be filled with its amazing sweet smell. Once the galette is finally golden brown and the crust is baked through, you can take it out of the oven.
Aah ah ah, not so fast. Let the galette sit for five minutes before serving. You could also dust it with powdered sugar for a fancy look. And since I’m from the Dairy State, I have to suggest serving the warm galette with a big dollop of ice cream in the middle. Now, to share or not to share…
- 1 ¼ cups all purpose flour
- ¼ tsp salt
- 4 oz. cold unsalted butter, cut into 1-inch pieces and chilled again
- ¼ cup sour cream
- 2 tsp lemon juice
- 1/4 cup ice water
- 1 egg yolk, beaten with 1 tsp water
- Turbinado sugar, optional
- 1 ½ cups blueberries
- 1 ½ cups raspberries
- 1 cup blackberries
- 5 tbsp sugar
- 1 tbsp cornstarch
- 1 tbsp lemon juice
- To make the dough, whisk together the flour and salt in a mixing bowl. Using a pastry blade or your fingers, work the butter into the flour until it resembles a coarse meal.
- In a separate bowl, whisk together the sour cream, lemon juice, and ice water. Add to the flour mixture. Mix with a wooden spoon until large lumps form. Shape the lumps into a large ball, then wrap with plastic. Refrigerate for at least one hour, up to overnight.
- When ready to bake the galette, first make the filling. Stir together all of the filling ingredients in a large bowl. Set aside.
- Preheat the oven to 400 degrees F. Remove the dough from the plastic wrap and place on a lightly floured surface. Roll out the dough into a 12-inch circle, though it doesn't need to be perfectly round. Fold the dough in half, and then in half again, and transfer to a large piece of parchment paper. Slide onto a baking sheet. Unfold the dough in the center of the parchment.
- Spoon the filling into a flat circle in the center of the dough, leaving about a 2-inch border around the outside. Fold the border over the filling, pleating the dough to make it fit. The center of the galette should be open. Brush the crust with the egg yolk glaze and sprinkle with turbinado sugar if desired. Bake for 45-55 minutes, until the crust is cooked through and golden brown.
- Remove the galette from the oven and let stand for 5 minutes before serving. Cut into wedges and serve.
- The galette can be served at room temperature, although I prefer it warm out of the oven with a scoop of ice cream in the center.